missgalore

crafting and music


1 Comment

Minerals Zipper Purse

2015/01/img_0194.jpg
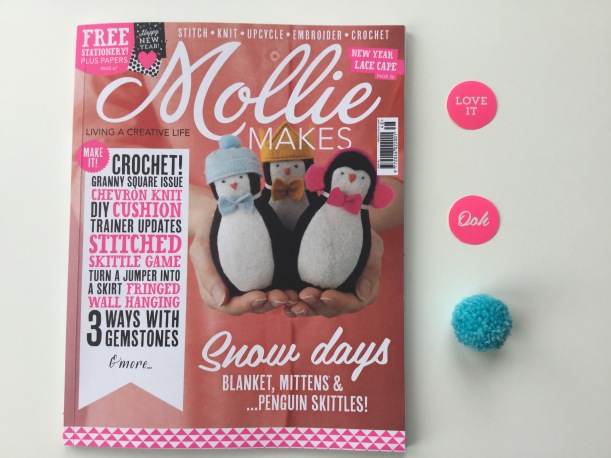
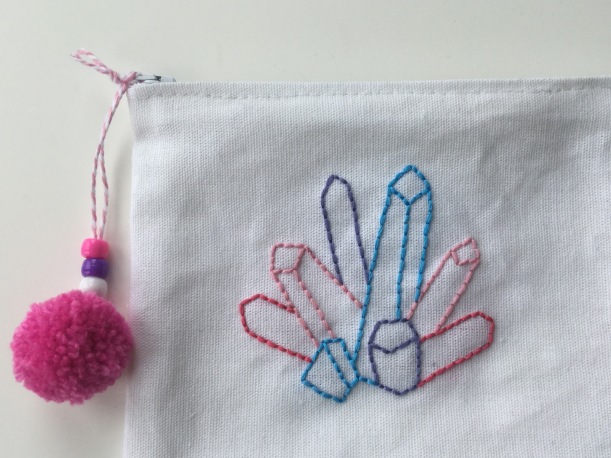
Hi everybody! Today I show you a really cute and up-to-date little project. As minerals are popping up everywhere these days, I was happy to find a great pattern in issue 48 of Mollie Makes (my favourite magazine, as you all know). The original design was made for up-styling a plain jumper. This looks really great!

For I don’t have any jumpers for upcycling at the moment, I decided to sew a small zipper purse with the minerals design. I chose a white cotton fabric and embroidered the design first before sewing the purse together. For a cute finish, I attached a pompon at the zipper.

I’m so happy with the result. Mollie Makes always inspires me in the greatest way. If you don’t know the magazine already, give it a try. If you love comtemporary crafts, bright colours and cute and quirky things, this is the perfect choice for you. It’s sometimes a bit complicated to get the current issue outside UK, but it’s worth it. I finally found a dealer here in Germany in my hometown, who gets it on stock- although almost 3 weeks late (seems a bit strange in 2015, but anyway, I’m happy to get it).

A great and crafty Sunday to you all. Have fun and happy moments!

2015/01/img_0196.jpg


1 Comment

Stamp it!

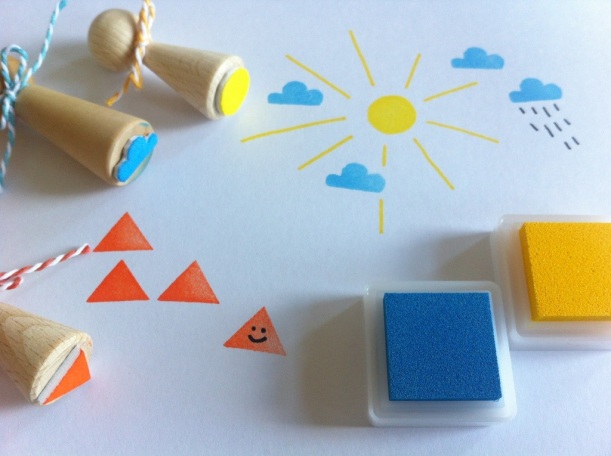
20140302-123659.jpgHi everybody! You know what: Handmade stamps are the cutest thing! There are several ways to transform your own motifs into stamps. Today I’ll show you the easiest way with foam rubber, wooden pins and some glue.

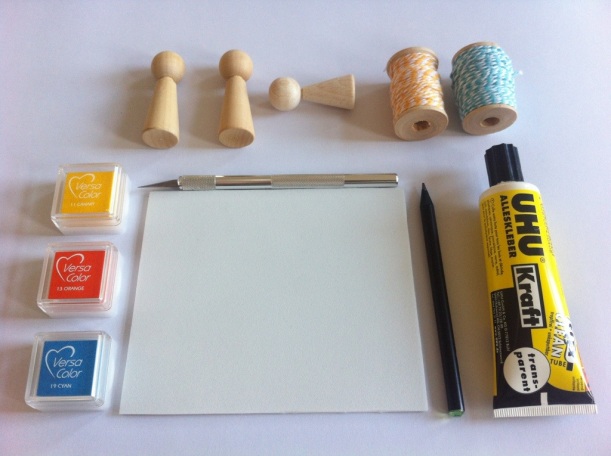
You’ll need:

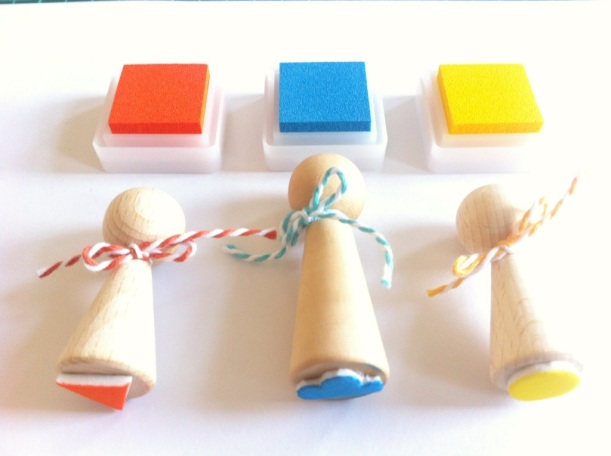
20140302-123625.jpgFirst thing you draw your motif onto the foam rubber. Make sure that it isn’t too big – it should be slightly smaller that the pin. Then cut it out an glue it onto the pin. It’s already finished. Yay! If you like, decorate your stamp with Bakers Twine in a matching colour to the ink pad you’ll use.

Now go ahead and stamp along. It’s great as a small present or to customize greeting cards, small notebooks and all kinds of stationery. It  will work on fabrics too if you use an ink pad that is suitable for it. Have fun and happy moments!
20140302-123543.jpg


Leave a comment

Take a bow!

1904222_10203345805910203_1838433513_n
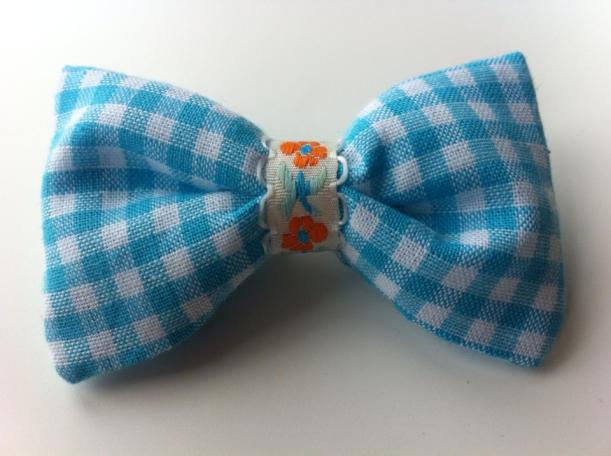
Hi everybody! This weekend I did some sewing. It’s not one of my best disciplines – I wish I could do better and sew dresses, skirts and such things. But I can manage small projects like this one: A bow broche! I didn’t use my sewing machine for it – just did it by hand and played around with fabric and ribbon to match. It was great fun!

So, if you like to join on that little cutie, you’ll need:

small piece of fabric
small piece of ribbon
needle and thread
broche pin
if you like, small amount of stuffing

Fold your fabric in half so you have a rectangle. Keep the right sides of the fabric inside. Now sew both pieces together (by hand or machine). Leave a small space open to turn the rectangle inside out. If you like, you can add some stuffing now. It gets a bit more stability for the bow, but it’s not necessary. Then close the rectangle.
Now you shape the bow by gathering it in the middle. Fix it with some stitches. Then wrap around the ribbon, fix it with some stitches at the back too and add the broche pin. It’t finished!

You can try all kinds of sizes and colours to match it with your wardrobe. I have the fabric (red with white dots) for next one right here beside me. Yay! Have fun and happy moments!